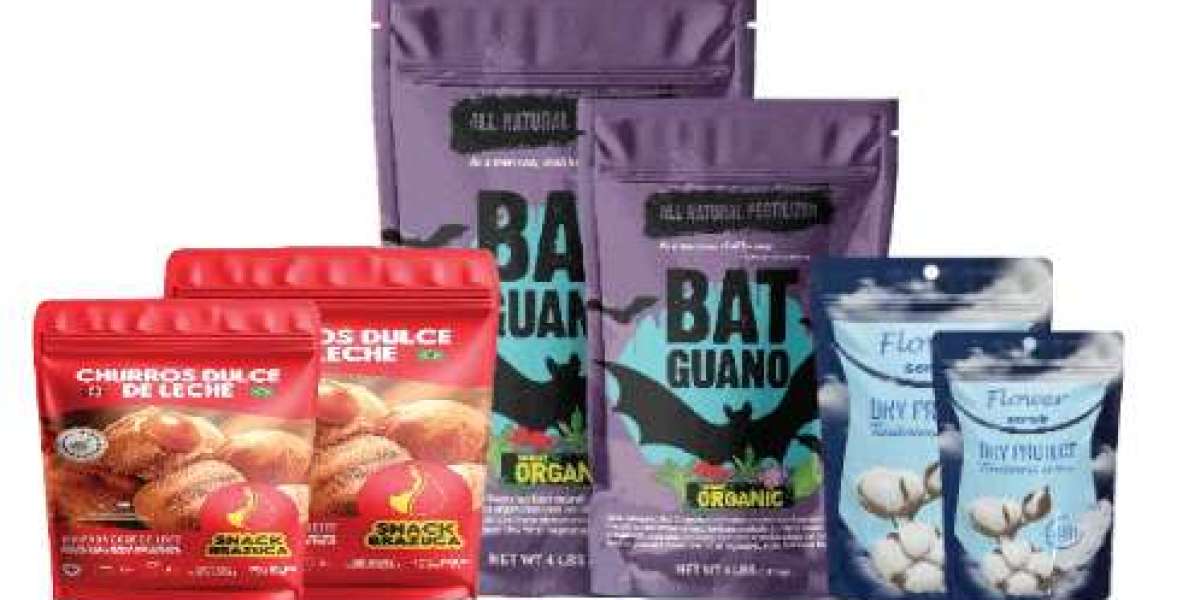
Mylar luggage is a sturdy and flexible packaging alternative used for food, herbs, and diverse dry items. They offer fantastic protection from moisture, air, and light, helping merchandise stay sparkling longer. But beyond the garage, many humans want to label or brand their bags, specifically for small enterprises or domestic use. Printing without delay on Mylar baggage is a price-powerful answer for adding product names, expiration dates, or custom designs. While printing on this kind of floor can also seem problematic, it’s feasible with the right method. This blog will guide you through the steps to print on Custom Mylar Bags domestically without costly equipment.
Why Printing on Mylar is Challenging Yet Worth It
Printing on Mylar baggage calls for extra care because of its smooth and non-porous surface. Ink doesn't absorb without problems into Mylar the way it does on normal paper or cardboard. That means the printing method has to use materials and equipment designed to paste well to slick, bright surfaces. But with the right setup, you can obtain clear, long-lasting, and attractive prints without delay in your luggage. For small batches, private branding, or custom orders, direct printing is an easy way to feature style and characteristics to standard Mylar baggage. It’s additionally beneficial for labeling contents and dates without having more stickers or tags.
Prepare the Bags Before You Start Printing
Before printing directly onto a Mylar bag, you must put together the floor.
Clean the Surface: Wipe the bags with a dry or slightly damp cloth to remove dust, oil, or debris that could affect print quality or ink adhesion.
Ensure the Bags Are Dry: Moisture can interfere with ink or adhesive, so make sure the bags are completely dry before printing.
Flatten the Bags: Lay the bags flat and smooth out any wrinkles or folds to create an even surface for clean, accurate printing.
Use Inkjet Printers with Special Ink
Inkjet printers are common in homes; however, no longer all inks work on Mylar. Standard inkjet ink may additionally smear or no longer dry properly. However, some pigment-based inks are designed to adhere better to plastic and foil surfaces. If your printer supports pigment ink cartridges, those will come up with better outcomes. Set your printer to “thick paper” or “label” mode so it can deal with the bag’s surface. Carefully feed one bag at a time, making sure it remains flat at some point during printing. Avoid touching the print area immediately after printing. Let the ink dry completely for numerous minutes before dealing with the bag in addition.
Try Laser Printers for Sharper Prints
Laser printers can also print without delay on Mylar, and the toner they use tends to bond well to non-porous substances. This technique offers crisp, smudge-resistant results. Still, you’ll need to test that your printer allows manual feeding and may cope with thicker fabric. Place the bag carefully into the guide feed tray. Set the printer to a heavy paper setting, which reduces velocity and will increase toner usage. Run some check prints to check alignment and toner adhesion. Be careful with temperature settings—too much warmth should warp the Mylar. Once revealed, permit the bag to cool earlier than transferring or folding it.
Use Direct Thermal Transfer for Long-Lasting Results
Direct thermal switch printers are another effective technique for printing immediately onto Mylar.
Durable Prints: Direct thermal transfer produces high-quality, long-lasting prints that resist smudging, fading, and moisture, making it ideal for labels that need to last.
No Ink Required: This method uses heat to transfer images from a ribbon onto the material, eliminating the need for liquid ink or toner.
Excellent for Barcodes and Text: It delivers sharp, clear results, perfect for printing barcodes, expiration dates, and detailed product information.
Alternative Methods: Stamping and Permanent Markers
If you don’t have get entry to to a printer or simply need some bags labeled, easier tools like everlasting markers or rubber stamps may be used. Choose an oil-based or waterproof marker made for slick surfaces. Write directly on the bag in small, clean letters. Let it dry completely before touching the ink. For greater regular outcomes, rubber stamps with permanent ink pads paintings well too. This approach is low-priced and clean, although it’s not suitable for small designs or quick textual content. It’s a clever choice for brief labeling or including a simple brand while not having any machines.
Conclusion
Printing immediately on Mylar bags at home is fully viable with the proper gear and instructions. Whether you’re the use of an inkjet printer with pigment ink, a laser printer, or a thermal transfer setup, clear prints may be completed using cautiously preparation of the bag and the use of suitable settings. Even easy alternatives like everlasting markers or stamps can give correct results for brief runs. By following every step with care, you may create custom-designed, professional-looking Mylar baggage that meets your packaging and labeling needs. With a little exercise, your baggage will appear neat, organized, and geared up to stand out. Additionally, Custom Product Packaging can transform your packaging into powerful marketing tools that grab attention and reflect your brand’s uniqueness.